Use public and private channelsCopy the correct channel URL, authenticate when required, and install packages.
The package page generates installation commands with the channel’s canonical repository URL and any configured base or override channels.
Before you begin
Install the package manager you plan to use. Pixi commands must run inside an existing Pixi workspace. Create one with pixi init or open the project that contains the pixi.toml you intend to change.
The generated setup commands change configuration:
Pixi updates the current workspace.
conda and mamba use
conda config --add, which persists in your conda configuration.micromamba updates its channel configuration.
Review the complete channel list before solving, especially when the environment contains compiled packages from other sources.
Install from a public channel
Find the channel and open a package.
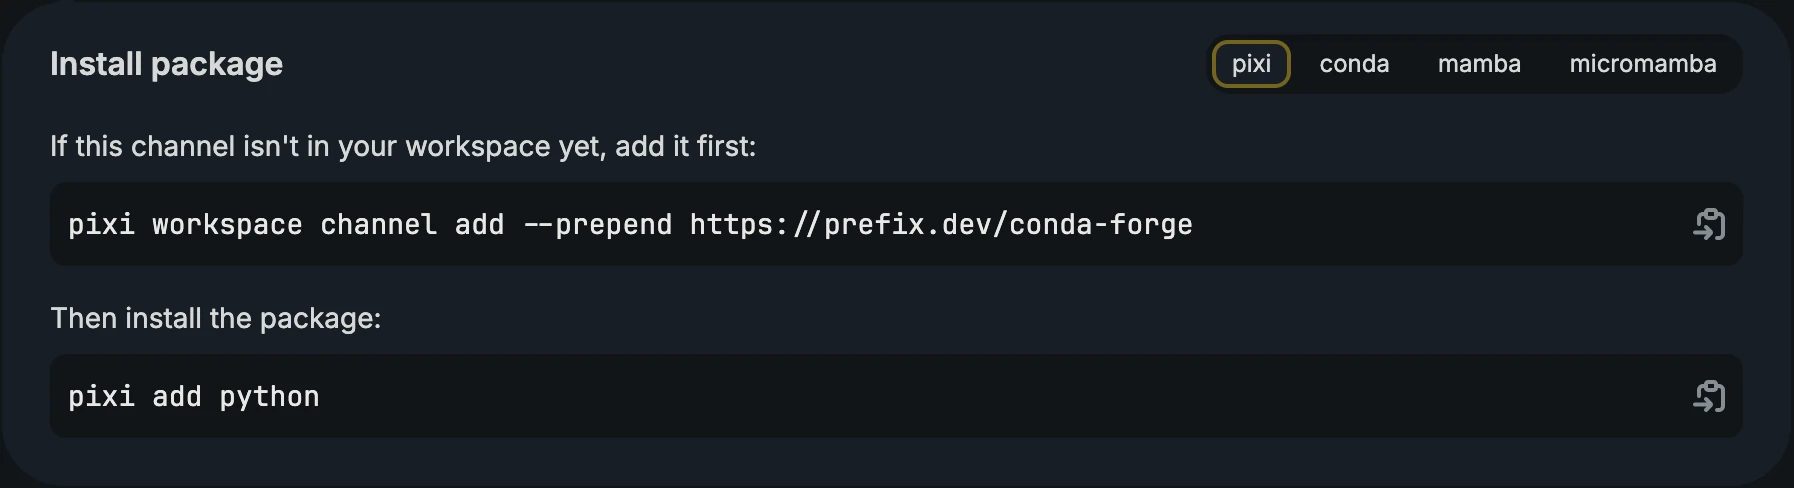
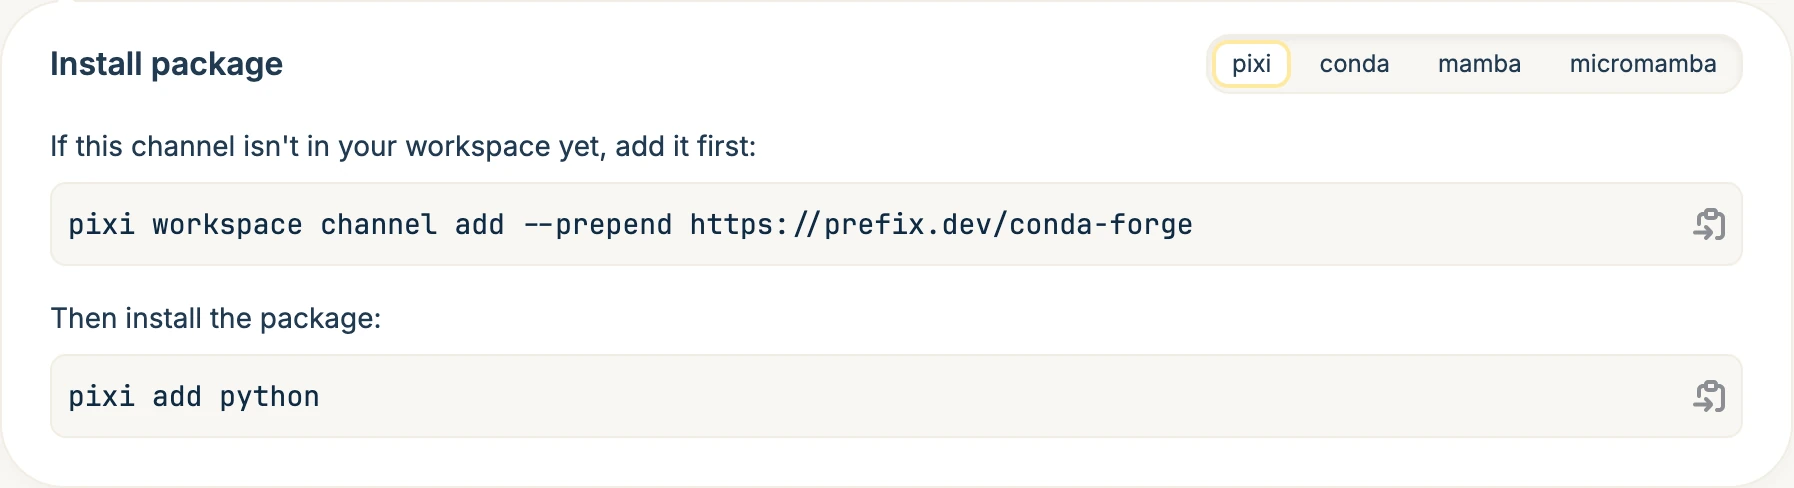
In Install package, choose pixi, conda, mamba, or micromamba.
Copy and run the generated channel command.
Copy and run the package command.
For a non-primary channel, Pixi commands use this form:
For a primary channel:
Warning: Do not use the website’s
/channels/@<namespace>/<channel>route in a package manager.
Isolate a conda-family solve
The generated conda and mamba setup commands preserve other channels already present in your configuration. If you need to test only the channels shown on the package page, pass the complete list directly and use --override-channels:
Omit any relation that is not configured. Keep the generated base, current, overrides order. Use mamba install in place of conda install when appropriate.
Make the environment reproducible
After a successful Pixi solve:
Review the complete channel order and target platforms in
pixi.toml.Review the package changes in
pixi.lock.Test the environment on the platforms your project supports.
Commit
pixi.tomlandpixi.lockwith the project.
Credentials belong in the local credential store or CI secret configuration, not in the manifest, lockfile, notebooks, or repository URLs.
Changing a prefix.dev base or override relation changes future generated commands. It does not modify an existing workspace, conda configuration, or lockfile until you update and solve it again.
Install from a private channel with Pixi OAuth
This guide’s private-channel procedure uses Pixi. conda, mamba, and micromamba require separate client-specific credential setup; use the non-interactive guidance below or your organization’s supported configuration instead of placing a token in a channel URL.
You must already have access to the private channel. Website sign-in and package-manager authentication are separate.
Run:
Complete the browser authorization flow.
Copy the Pixi commands from the package page and run them.
Unattended access
Pixi uses the OAuth 2.0 device authorization flow. It may open a browser for convenience, but the browser does not need to run on the same machine. Open the displayed URL on any device, enter the code, and complete authorization.
For unattended automation where no person will complete the device flow, create a channel-scoped credential with an expiry. Use Read for private downloads and Read/write only when the tool must publish or yank. Manage channel access explains the flow.
Do not improvise by placing a secret in a repository URL, environment manifest, notebook, or shared shell history. Use a client-supported credential store or secret injection mechanism.
Troubleshoot access
The channel is missing from My channels: Sign in with the account that received access, or ask an Owner or Contributor to add you.
The website works but Pixi returns an authentication error: Run
pixi auth login prefix.devand retry.The command contains several channel URLs: Keep the generated base, current, overrides order.
A namespaced channel is not found: Use
https://prefix.dev/<namespace>/<channel>, without/channels/@.conda or mamba chooses an unexpected source: Inspect all configured channels and the client’s channel-priority mode. Use an isolated
--override-channelssolve when appropriate.
Next steps
Previous Chapter
Create and configure
Next Chapter
Build and publish a package